The summer of 2022-2023 was a wet one in New Zealand. There was unprecedented flooding through Auckland at the end of January, and then Cyclone Gabrielle whipped through the North Island, causing destruction and more flooding. Due to the weather, many archival collections were water damaged.
But it’s not just Mother Nature that can seep into our archival collections. Accidents happen and try as we might, sometimes we end up with wet documents, photographs, books, and archives.
In this post, we’re going to give you some tips for dealing with water-damaged archives and offer up some ways you can work on salvaging them.
Freezing your archives
One way to prevent further damage to manuscripts and archival material is to freeze it. This may seem counter-intuitive, but people often freeze documents after a flood to help prevent further damage and preserve them until they can be properly treated and restored. It is often the fastest way to preserve the material if you can’t immediately work on drying it out.
Flooding can cause significant damage to paper documents, such as warping, staining, and the growth of mould or mildew. Freezing the documents can help stop any further damage from occurring.
Why does freezing your archives help?
When documents are frozen, the moisture within them is locked in place, preventing additional water damage from occurring. Freezing can also help kill any mould or mildew that may be present on the documents, as the low temperature inhibits their growth. It can also help prevent the ink or toner from running or smudging, which can make the documents difficult or impossible to read later.
Freezing the documents can buy some time for people to plan for their proper restoration while helping to ensure that they will be salvageable. If you can’t dry your archives straight away, freezing is the best way to minimise damage.
What do you do after you’ve frozen your archives?
Frozen archives and documents can remain in the freezer indefinitely. If you’re not comfortable thawing your archives yourself, consult an archivist or conservator who can evaluate them and determine the best course of action for thawing and treatment.
How to freeze your archives
Here are the steps you can take to freeze wet archival material:
- Remove any excess water: If the item is dripping wet, carefully blot it with absorbent paper or cloth to remove as much water as possible. Do not apply pressure or scrub the item, as this can cause further damage.
- Pack the items properly: Wrap wet items in plastic bags or Gladwrap, separating groups of items with wax or baking paper. Remove as much air as possible from the bag, and seal it tightly.
- Label and date the bag: Using a marker, write the date of freezing and a brief description of the item on the bag. This will help identify the item later, and you’ll be able to prioritise which archives you thaw first if you need to.
- Freeze the items: Place the bag in the freezer as soon as possible. Ensure that the temperature in the freezer is set to at least -18 degrees Celsius (0 degrees Fahrenheit).
- Thaw the items correctly: When you are ready to begin the restoration process, remove the item from the freezer and let it thaw at room temperature. Don’t try to speed up the thawing process using heat, as this can cause further damage.
If you’re not comfortable doing this process yourself, it’s important to consult a conservator or archivist to evaluate and treat the item properly. They can advise on the best way to proceed with treating the item.
Air-drying your archives
If you don’t have access to a freezer, you’ve lost power, or you can start drying your archives immediately, air-drying is another easy way to get on top of the damage.
Air-drying archival material that has been water-damaged can be a delicate process that requires patience and care. Here are some steps to follow to ensure the best results:
- Remove excess water: Just like the freezer method, if the item is dripping wet, carefully blot it with absorbent paper or cloth to remove as much water as possible. Do not apply pressure or scrub the item, as this can cause further damage.
- Separate and arrange the items: If there are multiple items, carefully separate them and arrange them in a single layer on a flat surface, such as a table or countertop. Do not stack items on top of each other or overlap them.
- Use a fan: Place a fan nearby to help circulate air around the items. Ensure that the fan is not too close, as this can cause the items to dry too quickly and warp, curl, and rip.
- Washing line: You can also hang individual sheets on a washing line, however, be careful that the breeze isn’t too strong as the paper will rip. If there is a breeze, hang them inside on a line. You may have to rig one up – even string will do.
- Dry in a low-humidity environment: It’s best to dry the items in a low-humidity environment to prevent the growth of mould or mildew. If possible, set up a dehumidifier or air conditioner to help remove excess moisture from the air. Avoid the use of heat as it can cause mould growth and other problems.
- Monitor the items: Check on the items regularly to ensure they are drying properly. If any items begin to warp or curl, gently flatten them out with a weight or by placing them between layers of absorbent paper.
Note: Sometimes archives may not seem like they are salvageable, and it may be the case that they aren’t. But make sure you get professional advice before you dismiss them to the bin. 
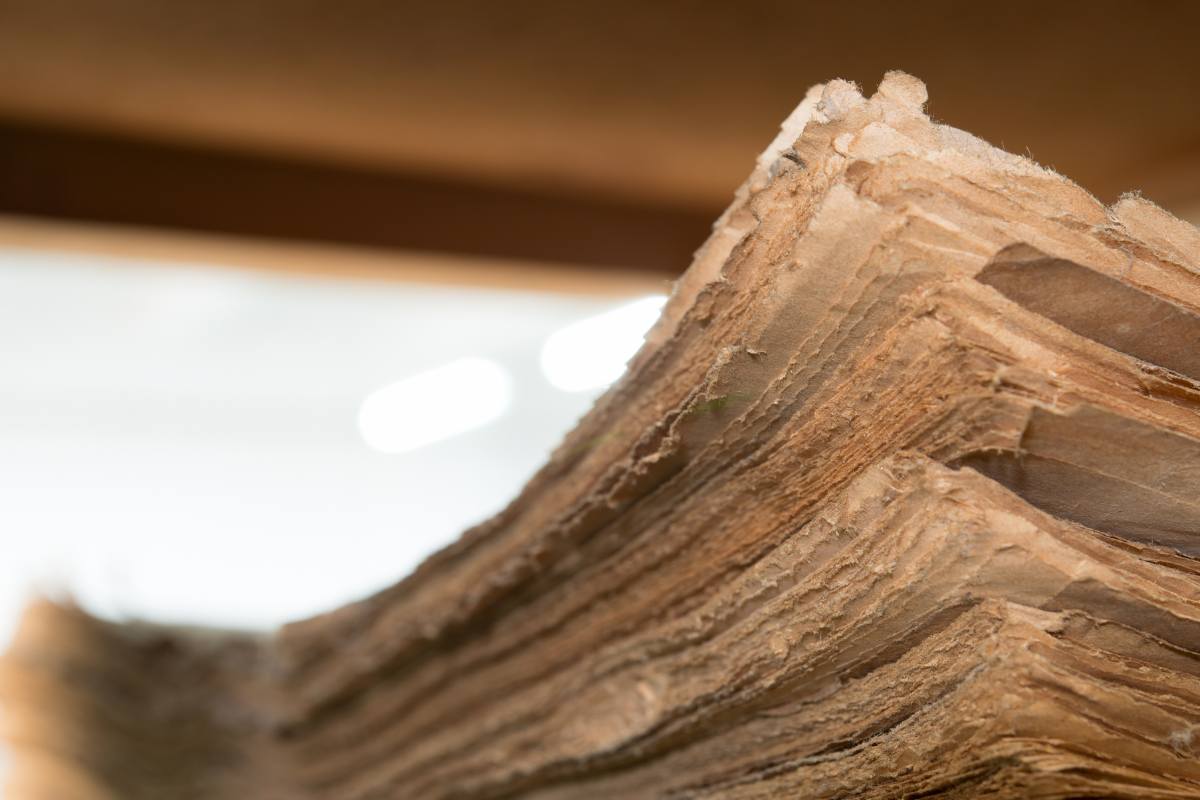
Books and photographs
A note on drying out books
If you have water-damaged books, they can be stood up and fanned out. Again, place them in a low-humidity room or with a dehumidifier or. If pages of albums and books are badly stuck together, don’t try to force them open as you run the risk of ripping the pages. If you can’t open the book at all, freeze it so it can be dealt with at a later date.
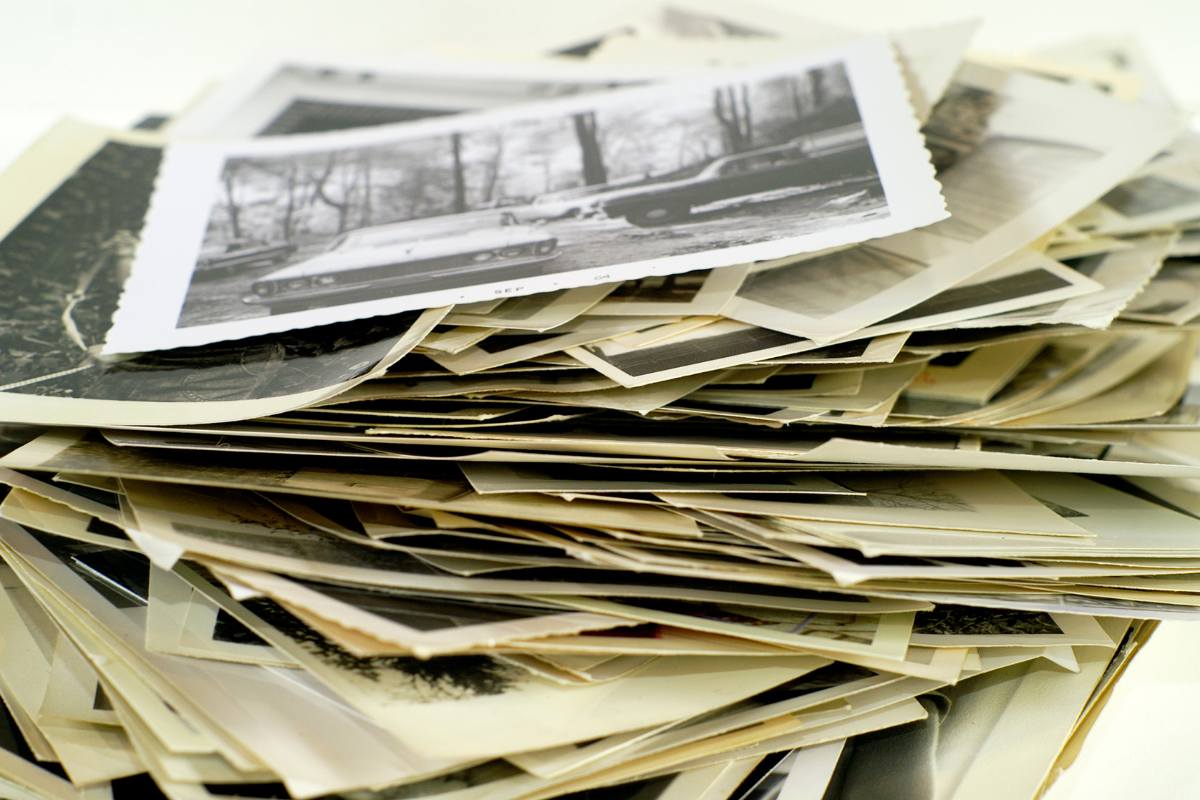
How to dry out water-damaged photographs and film negatives
If photographs or film negatives have become wet in flooding or other water incidences, try to air-dry them as soon as possible. If you can’t air-dry them immediately, then you can freeze them. Place them in small batches in sealed plastic bags, as above, making sure you place a piece of grease-proof paper between them. This will make it easier to separate later.
When you’re ready to defrost them, be very careful when you separate them and be sure to not let them dry before you take them apart. You can then air-dry them as below.
If your photographs have become muddy or dirty in a flood, they can be gently rinsed with clean tap water.
Lay your photographs on paper towels, image up. Avoid touching the image side of wet photographs as it is fragile and vulnerable. Never let the image side of photographs come into contact with other surfaces while drying, as they will stick together permanently.
Film negatives can be hung carefully from a line to dry, but, again, be sure to prevent them from touching each other while they dry. If some film negatives appear damaged or deteriorated, it may not be possible to save them, but you can try to dry them flat on absorbent paper with the image side facing upwards. You may have to assess whether they have made it through once they are dry.
Helpful links for looking after water-damaged archives and documents
There are plenty of great online resources for you to check out to help you look after wet archives. Check out some of these websites:
- National Libraries – Caring for Your Collections
- Australian Institute for the Conservation of Cultural Material – After a Flood
- Stuff – How to Salvage your Damaged Photographs and Documents
Get in touch
If you need help or guidance with your archival material, please don’t hesitate to get in touch.
email: library@kinderlibrary.ac.nz
phone: (64) 09 528 3950
Want to talk about this blog post?
We'd love to chat! Please email us at library@kinderlibrary.ac.nz
We'll respond as soon as we're able.